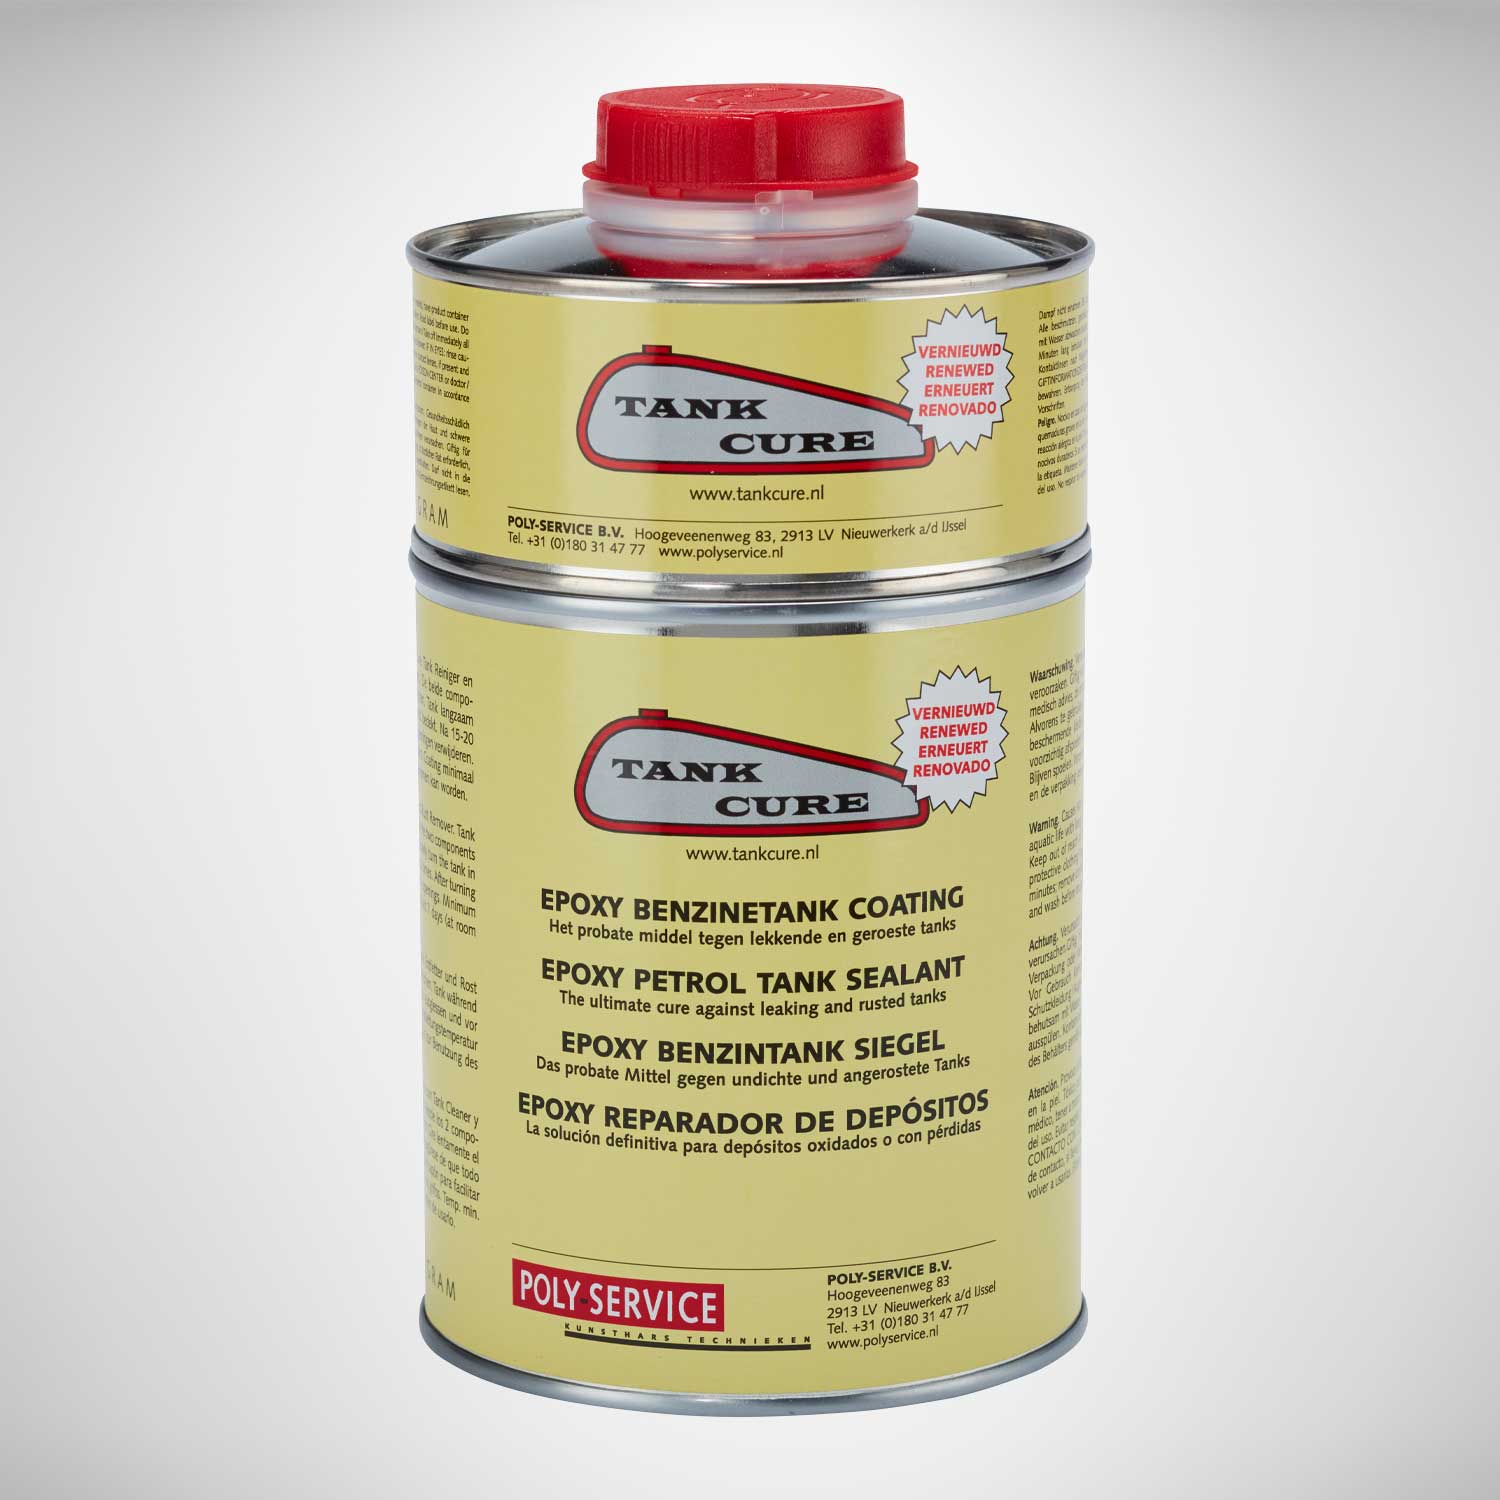
Tank Cure Handling scheme and Tips
Coat your fuel tank with 2-component epoxy
Tank Cure epoxy petrol sealant:
 Preparation:
Close the opening of the fuel valve properly. This can be accomplished with a bolt that is equipped with gas fitters tape. (After threatment the threading of the tank must still be clean). A (temporary) sealing cap for the filler opening must be available.
It is recommended to wrap the tank in plastic foil, or with a bag, to avoid spilling on the outside of the tank. Leave an opening at the filler cap that can be taped. Before applying the sealant, the inside of the tank must be completely dry.
Appliance:Make sure that the coating and the tank in which it will be applied, has a minimum temperature of at least 20˚C, to ensure that the coating can spread properly. Sometimes it is recommended to carefully warm the tank a little with a hairdryer. Once the Tank Cure Coating is mixed according to the description, the tank can be filled with it, then seal the filler opening properly.
Now slowly turn the tank in all directions so that the coating is evenly distributed over the inside of the tank. Do this for 15 to 20 minutes, then drain the remaining fluids through the filling opening. Now remove the seals from the opening for the fuel valve and check the threading in the tank. If necessary, clean them with acetone. Remove the plastic film on the outside and check that there are no splashes on the tank, if there are any, they must then be removed immediately. Leave the tank open after treatment. Seven days after the coating is cured on room-temperature, the tank is ready for use again.
Previous stepuseful tips
At the tank's lowest point, sometimes minor holes may occur, roughly the size of a pinhole. Before treatment these holes have to be taped on the outside. After drainage, set the tank aside in a way that on these porous areas a thicker layer will be formed.
Ventilation tubes on modern tanks must be sealed off before coating. Before the coating starts to set, purge the tubes with a compressor.
The result depends on many factors. The way on which the gas tank is prepared has a huge impact on the final outcome.


